As an Amazon Associate I earn from qualifying purchases.

Welcome to our comprehensive guide on mounting a projector without drilling and a projector screen without drilling. If you want to enjoy the big-screen experience in your home or office without making holes in your walls, this article is for you. Mounting a projector and screen without drilling requires the proper techniques, tools, and creativity. This guide will walk you through the process, providing insights based on our first-hand knowledge and expertise.
How to Mount a Projector Without Drilling
Mounting a projector without drilling is ideal for those who rent their homes or want to avoid creating permanent holes in their walls. Here are some methods to achieve this:
Method 1: Adhesive Strips
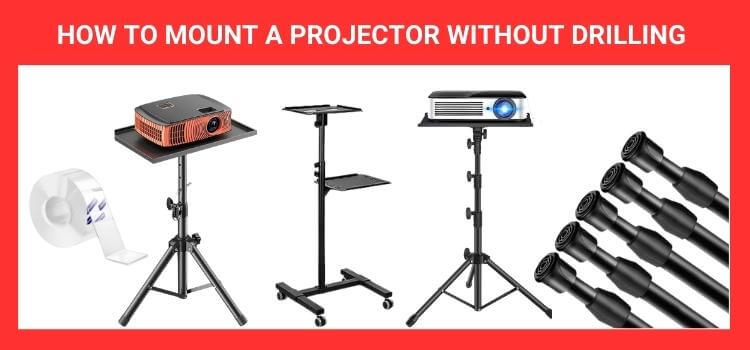
Adhesive strips are a quick and straightforward way to mount a projector without drilling. Look for heavy-duty adhesive strips that can support the weight of your projector. Clean the surface of the wall or ceiling thoroughly before applying the strips. For the most significant results, adhere to the manufacturer’s guidelines.
Method 2: Tension Rods
Tension rods are adjustable and can be placed between two opposing surfaces, such as walls, to create tension and hold the projector mount in place. Measure the distance between the surfaces and choose a secure tension rod.
Method 3: Tripod Stand
Invest in a sturdy tripod stand designed for projectors. These stands are foldable and include simple height and angle adjustments. Place the projector on the rack and position it according to your projection needs.
Method 4: Projector-Mounted Shelf
Some projector mounts come with shelves that can be attached to walls or ceilings using adhesive strips or non-damaging hooks. These shelves offer a stable platform for your projector.
Method 5: Ceiling Fan Hanger
If you have a ceiling fan in the desired projection area, you can use the ceiling fan hanger to mount the projector. Ensure the hanger is securely fastened to support the projector’s weight.
Method 6: Wall-Mounted Shelving Unit
Use a wall-mounted shelving unit with adjustable brackets to securely hold your projector. This method lets you position the projector at the desired height and angle.
How to Mount a Projector Screen Without Drilling
Projector screen mounting without drilling requires careful preparation and the appropriate tools. Here are some methods to achieve a stable setup without drilling:
Method 1: Tensioned Screen Stands
Tensioned screen stands are freestanding structures that provide stability for your projector screen without drilling. They come in various sizes and can be easily adjusted.
Method 2: Portable Tripod Screens
Portable tripod screens are lightweight and easy to set up. These screens come with adjustable tripods that provide stability and eliminate the need for drilling.
Method 3: Retractable Screen with Base Stand
Using retractable screens with base supports, a projector screen may be mounted without drilling. The base stand provides stability, and the screen can be rolled up when not in use.
Method 4: Wall Hooks or Adhesive Hooks
You can use wall or adhesive hooks to hang the net securely for lightweight projector screens. Make sure the clips are designed to hold the weight of the screen.
Method 5: Tension Rods and Curtain Rings
A frame for the projector screen may be made out of tension rods. Attach curtain rings to the tension rods and hang the net from them.
Method 6: Floor-to-Ceiling Spring Loaded Poles
Floor-to-ceiling spring-loaded poles can be extended to fit the height of your room. Attach the projector screen to the bar using clamps or hooks.
Checking Compatibility and Weight Capacity
Before choosing a mounting method, it’s crucial to check the compatibility and weight capacity of both your projector and the mounting equipment. Refer to the projector’s user manual or check the manufacturer’s website for weight specifications and mounting guidelines.
Preparing the Mounting Area
Properly preparing the mounting area is essential for ensuring a secure attachment and preventing any damage to the surface.
Cleaning the Surface
Clean the surface where you plan to mount the projector thoroughly. Remove any dust, dirt, or grease hindering the adhesive’s effectiveness.
Marking the Mounting Location
If you use adhesive hooks or mounting tape, mark where you will attach them. Use a level and measuring tape to ensure accuracy.
Installing the Projector Mount
Using Adhesive Hooks or Mounting Tape
To mount the projector using adhesive hooks or mounting tape, follow these steps:
- The adhesive hook or tape’s backing should be peeled off.
- Press the hook or tape firmly against the wall or ceiling, following the marked location.
- Hold it in place for a few seconds to ensure a strong bond.
Setting Up an Adjustable Stand
To set up an adjustable projector stand, follow these steps:
- Extend the frame to the desired height and lock it in place.
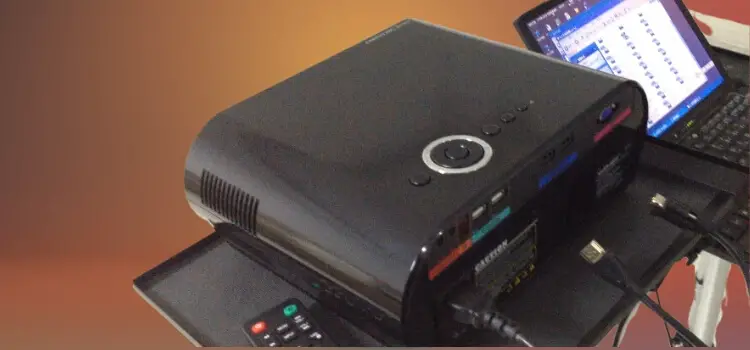
- Place the projector on the stand’s platform and ensure it’s stable.
- Adjust the stand’s angle to achieve the desired projection.
Securing the Projector
Once the projector is mounted, it’s essential to secure it properly to avoid any accidental falls or damage. If you’re using adhesive hooks or tape, double-check their adherence to the surface. Ensure the projector is snugly fitted for adjustable stands and won’t wobble.
Setting Up the Projector Screen Without Drilling
If you’re looking to mount a projector screen without drilling, there are alternative solutions available:
Using a Portable Tripod Stand
A portable tripod stand is an excellent option for mounting a projector screen without drilling. These stands are easy to set up and provide stable support for the screen. Look for a tripod stand with adjustable height settings for the perfect screen position.
Tensioned Floor Rising Screen
A tensioned floor-rising screen is another viable choice for those who don’t want to drill holes. These screens come with a sturdy frame that holds the screen taut. The screen can be easily rolled up and stored when not in use.
Troubleshooting Tips
Ensuring Stability
If you notice any instability in the projector mount or screen setup, reevaluate the attachment and make the necessary adjustments. Keeping the projector and screen stable is crucial for optimal viewing.
Adjusting Screen Height
Consider the audience’s eye level when using a projector screen, and adjust the screen height accordingly for comfortable viewing.
Maintenance and Care
The lifespan of your projector mount and screen depends on proper upkeep and maintenance.
Cleaning the Projector Mount
Regularly inspect the projector mount and clean it from dust or debris that might accumulate over time. This maintenance step will help maintain a strong bond for adhesive mounts.
Storing the Projector and Screen
Store the projector and screen in a safe and dry place to prevent damage when not in use.
FAQs
Adhesive hooks work best on smooth surfaces, and their effectiveness may be reduced on textured walls. It’s recommended to test a small area before mounting the projector.
The weight capacity of mounting tape varies depending on the brand and type. Some recordings can support up to 20 pounds or more.
Yes, adjustable projector stands are designed to be durable and can support various projector sizes. However, checking the stand’s weight capacity before use is essential.
Tensioned floor-rising screens are compatible with most projectors. However, it’s recommended to check the screen’s specifications and ensure it suits your projector’s size and aspect ratio.
It’s a good practice to clean the projector mountain every few months, especially if it’s exposed to dust or other particles. Regular cleaning will help maintain its adhesive strength.
Wrapping Things Up
Mounting a projector without drilling and a projector screen without drilling is feasible with the proper techniques. By using adhesive strips, tension rods, tripod stands, or other non-damaging methods, you can create a stable and secure setup without causing any damage to your walls or ceilings. Remember to choose the plan that best suits your projector’s size and weight to ensure a successful installation.
Keep in mind that installing a projector without drilling protects the integrity of your walls and enables easy projector relocation in the future. Enjoy your home theater without worrying about making any long-term changes to your living area.
Related Post
Amazon and the Amazon logo are trademarks of Amazon.com, Inc, or its affiliates.


Leave a Reply