As an Amazon Associate I earn from qualifying purchases.

Welcome to our comprehensive guide on how to remove an ASUS monitor stand. Whether you’re a tech enthusiast or simply someone looking to optimize their workspace, knowing the ins and outs of monitor setup is essential. In this article, we’ll delve into the stand components of an ASUS monitor and provide you with a user-friendly step-by-step guide that ensures a seamless removal process. When you’re done reading, you’ll have the knowledge and confidence to tackle this task.
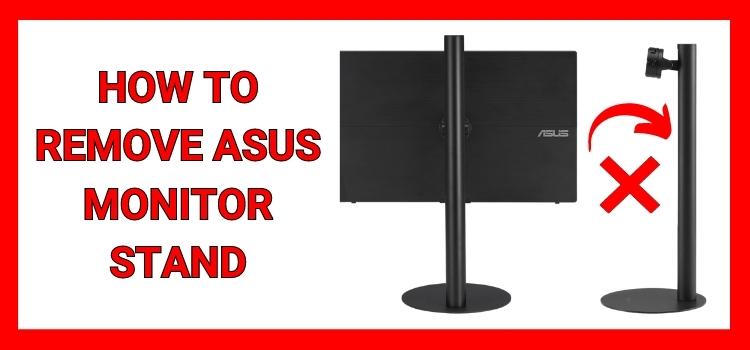
Stand Components of ASUS Monitor
Before diving into the nitty-gritty of removing an ASUS monitor stand, let’s take a moment to understand the integral components that make up the stand. A firm grasp of these components will pave the way for a successful removal process:
- Base Plate: This foundational component provides stability to your monitor setup.
- Neck: The neck links the base plate and the monitor, allowing height adjustments.
- Swivel Joint: The swivel joint permits horizontal rotation, allowing you to adjust viewing angles.
- Pivot Joint: The pivot joint allows for vertical pivoting, which is helpful for quickly switching between landscape and portrait modes.
- Attachment Point: The attachment point is where the stand and monitor meet. This is where your attention will be focused during the removal process.
How to Easily Remove the ASUS Monitor Stand
Now, let’s dive into the heart of the matter: how to easily remove the monitor stand from an ASUS monitor. Follow these straightforward steps to accomplish the task:
- Prepare Your Workspace: Start by setting up a clean and flat workspace. Gather a Phillips head screwdriver and a soft cloth to protect your monitor.
- Power Down and Disconnect: Safely power off your monitor and disconnect all cables, including the power and video cables.
- Position the Monitor: Gently lay your monitor face down on a soft cloth to prevent any potential scratches on the screen.
- Locate the Attachment Point: Identify the attachment point on the back of your monitor. This is where the stand connects to the monitor.
- Remove the Screws: Using your Phillips head screwdriver, carefully remove the screws that secure the frame to the monitor. Set these screws aside for potential reattachment.
- Detach the Stand: With the screws removed, gently slide or lift the edge away from the monitor. Be cautious and avoid applying excessive force. If it feels stuck, double-check for any remaining screws.
- Inspect for Residual Screws: Take a moment to inspect the attachment area for any lingering screws. Leaving screws behind could lead to instability.
- Clean and Store: Wipe down the monitor and the attachment area using a soft cloth to remove dust or debris. If you plan to reuse the stand, store it in a safe place.
Tips for a Smooth Removal Process
- Take Your Time: It’s essential to take your time and be careful when completing a task. Rushing can result in errors or damage. Remember to approach the task with patience and care.
- Label Screws: If the screws are different sizes, consider labeling or arranging them to avoid confusion during reattachment.
- Protect the Screen: Placing the monitor face down on a soft cloth prevents scratches and damage to the screen.
- Follow the Manufacturer’s Instructions: If your monitor comes with a user manual, refer to it for specific removal instructions.
Conclusion
In conclusion, removing the ASUS monitor stand might seem daunting at first glance. Still, armed with the proper knowledge, it’s a task you can easily tackle. By understanding the stand components and following our step-by-step guide, you can swiftly and confidently remove the stand for adjustments, upgrades, or repositioning. Remember to maintain a tidy workspace throughout the process, and enjoy the flexibility of customizing your ASUS monitor setup to your liking.
FAQs
Absolutely. Follow the removal steps in reverse, ensuring you use the correct screws and secure them tightly.
A Phillips head screwdriver is the primary tool required. It’s commonly available and suitable for the job.
Removing the stand for adjustments will usually preserve your warranty. However, it’s advisable to check the warranty terms or consult ASUS support for extensive modifications.
Yes, if you prefer to mount the monitor or use a different stand, you can do so without any issues.
While the basic steps remain similar, the attachment mechanisms vary slightly between models. Always refer to your user manual for model-specific instructions.
If you encounter resistance while removing the stand, double-check for any remaining screws. Gently wiggle the frame while applying even pressure to detach it.
Related Post
Amazon and the Amazon logo are trademarks of Amazon.com, Inc, or its affiliates.


Leave a Reply